
Why GA4 Setup Matters for Every Modern Business
In today’s competitive digital landscape, web analytics is the foundation of informed commercial decision-making.
Without clean, reliable tracking, marketing teams make critical budget allocations based on intuition rather than empirical customer behavior. Understanding which marketing campaigns drive conversions, where user friction occurs, and what products yield the highest customer lifetime value requires a properly configured analytics platform.
Google Analytics 4 (GA4) is Google’s flagship measurement standard. While migrating to a new platform may seem daunting, setting up GA4 is straightforward when broken into manageable steps.
Follow this quick guide to set up your GA4 account and start collecting valuable data today.
Step 1: Create Your Google Analytics Account
To begin, navigate to Google Analytics.
- If you are entirely new to Google Analytics, click the Start measuring button on the welcome screen.
- If you already manage an existing Analytics account, navigate to the Admin gear icon in the lower-left corner of your dashboard.
In the Account column, click + Create Account.
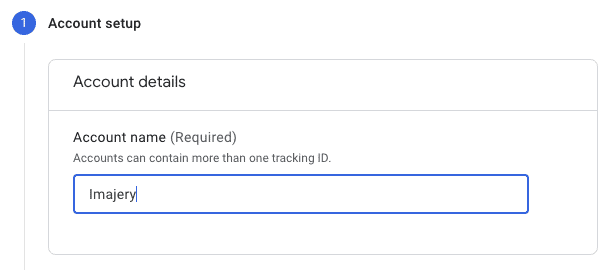
In the Account name field, enter your company or organization name, review the data sharing settings, and click Next.
Step 2: Configure Your GA4 Property Details
Next, configure the specific Property for your website:
- Property Name: Enter your website or store name (e.g., YourBrand - Web Production).
- Reporting Time Zone: Select the primary timezone where your business conducts commerce.
- Currency: Select your operating billing currency (e.g., USD or CAD).
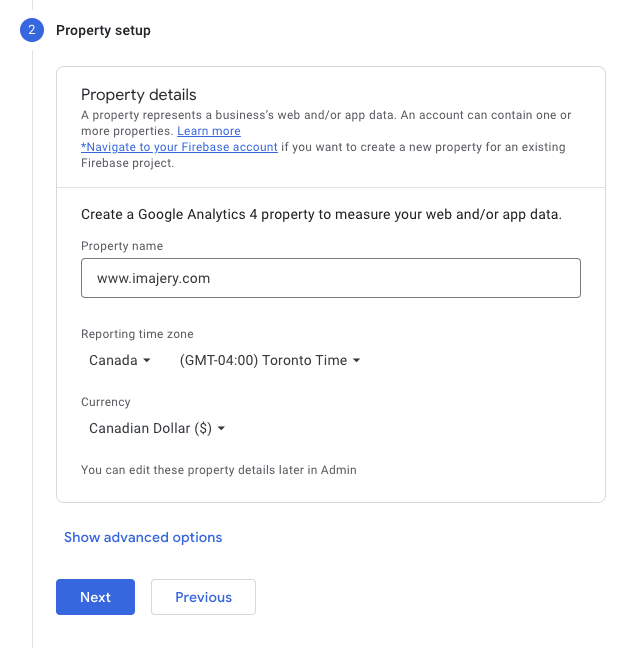
Click Next, fill in your business industry category and company size, accept the Google Analytics Terms of Service, and proceed to the stream setup.
Step 3: Create Your Data Stream
In GA4, data is organized into Data Streams. You can stream data from iOS apps, Android apps, or websites into a unified dashboard.
Under Choose a platform, select Web.
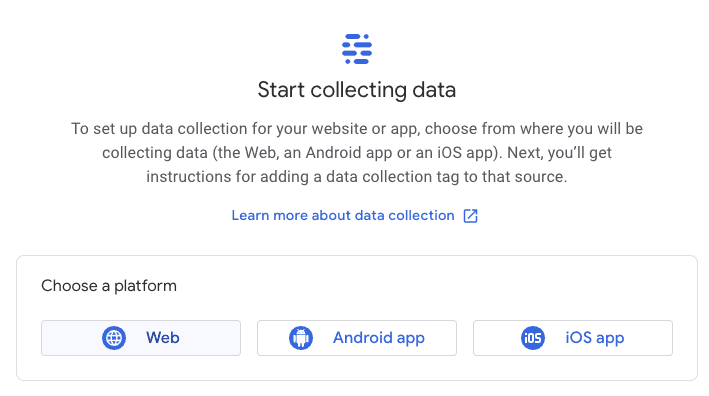
Enter your website URL (e.g., www.yourbrand.com) and choose a descriptive Stream Name.
Important: Ensure that Enhanced measurement is toggled ON. This automatically captures fundamental user behaviors—including 90% scroll depth, outbound link clicks, internal site search, video plays, and PDF downloads—without writing custom code!
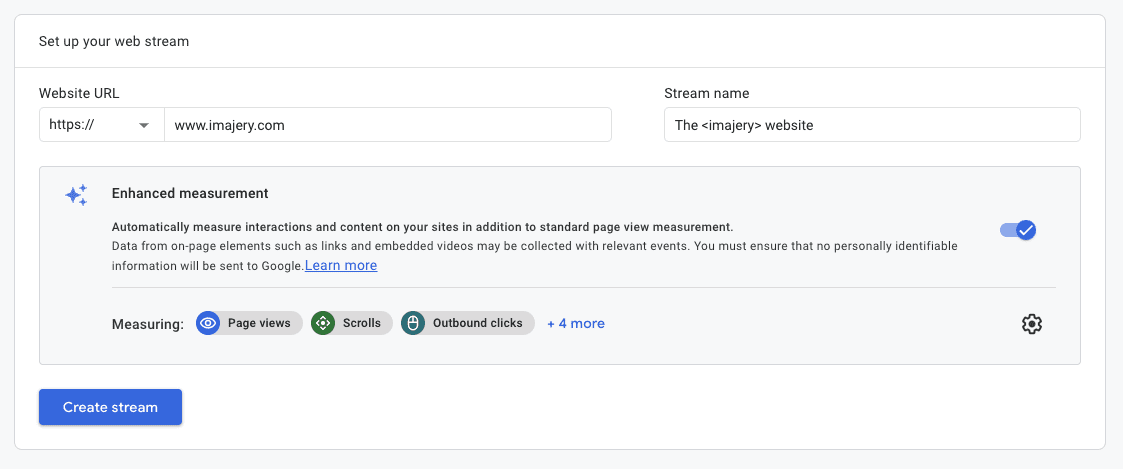
Click Create stream.
Step 4: Install the Tracking Code on Your Website
Once your stream is created, Google provides your unique Measurement ID (formatted as G-XXXXXXXXXX) along with installation instructions.
You have two primary installation options:
Option A: Install via Google Tag Manager (Recommended)
- In your Google Tag Manager container, create a new Tag.
- Select Google Tag as the tag type.
- Paste your GA4 Measurement ID (
G-XXXXXXXXXX). - Set the trigger to Initialization - All Pages or All Pages.
- Save and Publish your GTM container.
Option B: Install Manually via HTML
Copy the global site tag (gtag.js) code provided by Google and paste it immediately after the opening <head> element on every page of your website template.
Step 5: Verify Data Collection in Realtime
Once installed, verify that your implementation is operational:
- Open your website in a new incognito window and browse a few pages.
- Navigate to your GA4 property and click Reports > Realtime in the left sidebar.
- Within 30 seconds, you should see an active user registered on your map, accompanied by incoming pageview and scroll events!
Full aggregated attribution and audience reports will populate within 24 to 48 hours.
Elevate Your Analytics with a Certified Google Partner
Setting up basic pageview tracking is just step one. To capture high-value ecommerce revenue, multi-touch conversion funnels, and lead form values, partnering with an experienced data team makes all the difference.
As a certified Premier Google Partner, the analytics and development specialists at <imajery> design robust, custom tracking architectures that empower your business to scale with certainty.